To texture my face, I followed tutorial 11 which introduced a Bump Map to the face by overlaying a copy of my photoshopped skin file with Filter/Other/High Pass which essentially picks out contrasting high and low detail in monochrome.
Once carried out, this is what the mask looks like:
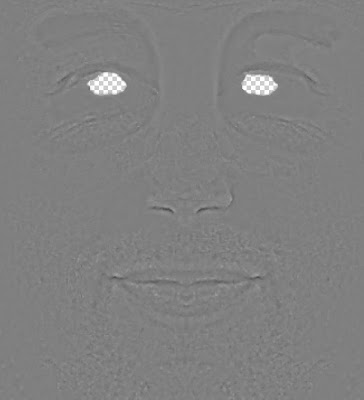
And here's the effect it creates when it's applied to the materials Bump Map:


No comments:
Post a Comment